To organize brand assets, build one system in eight steps and run them in order. Each step answers a different question about a file: whether it should exist, where it lives, what it is called, how people find it, which version is current, who may use it and who keeps it true.
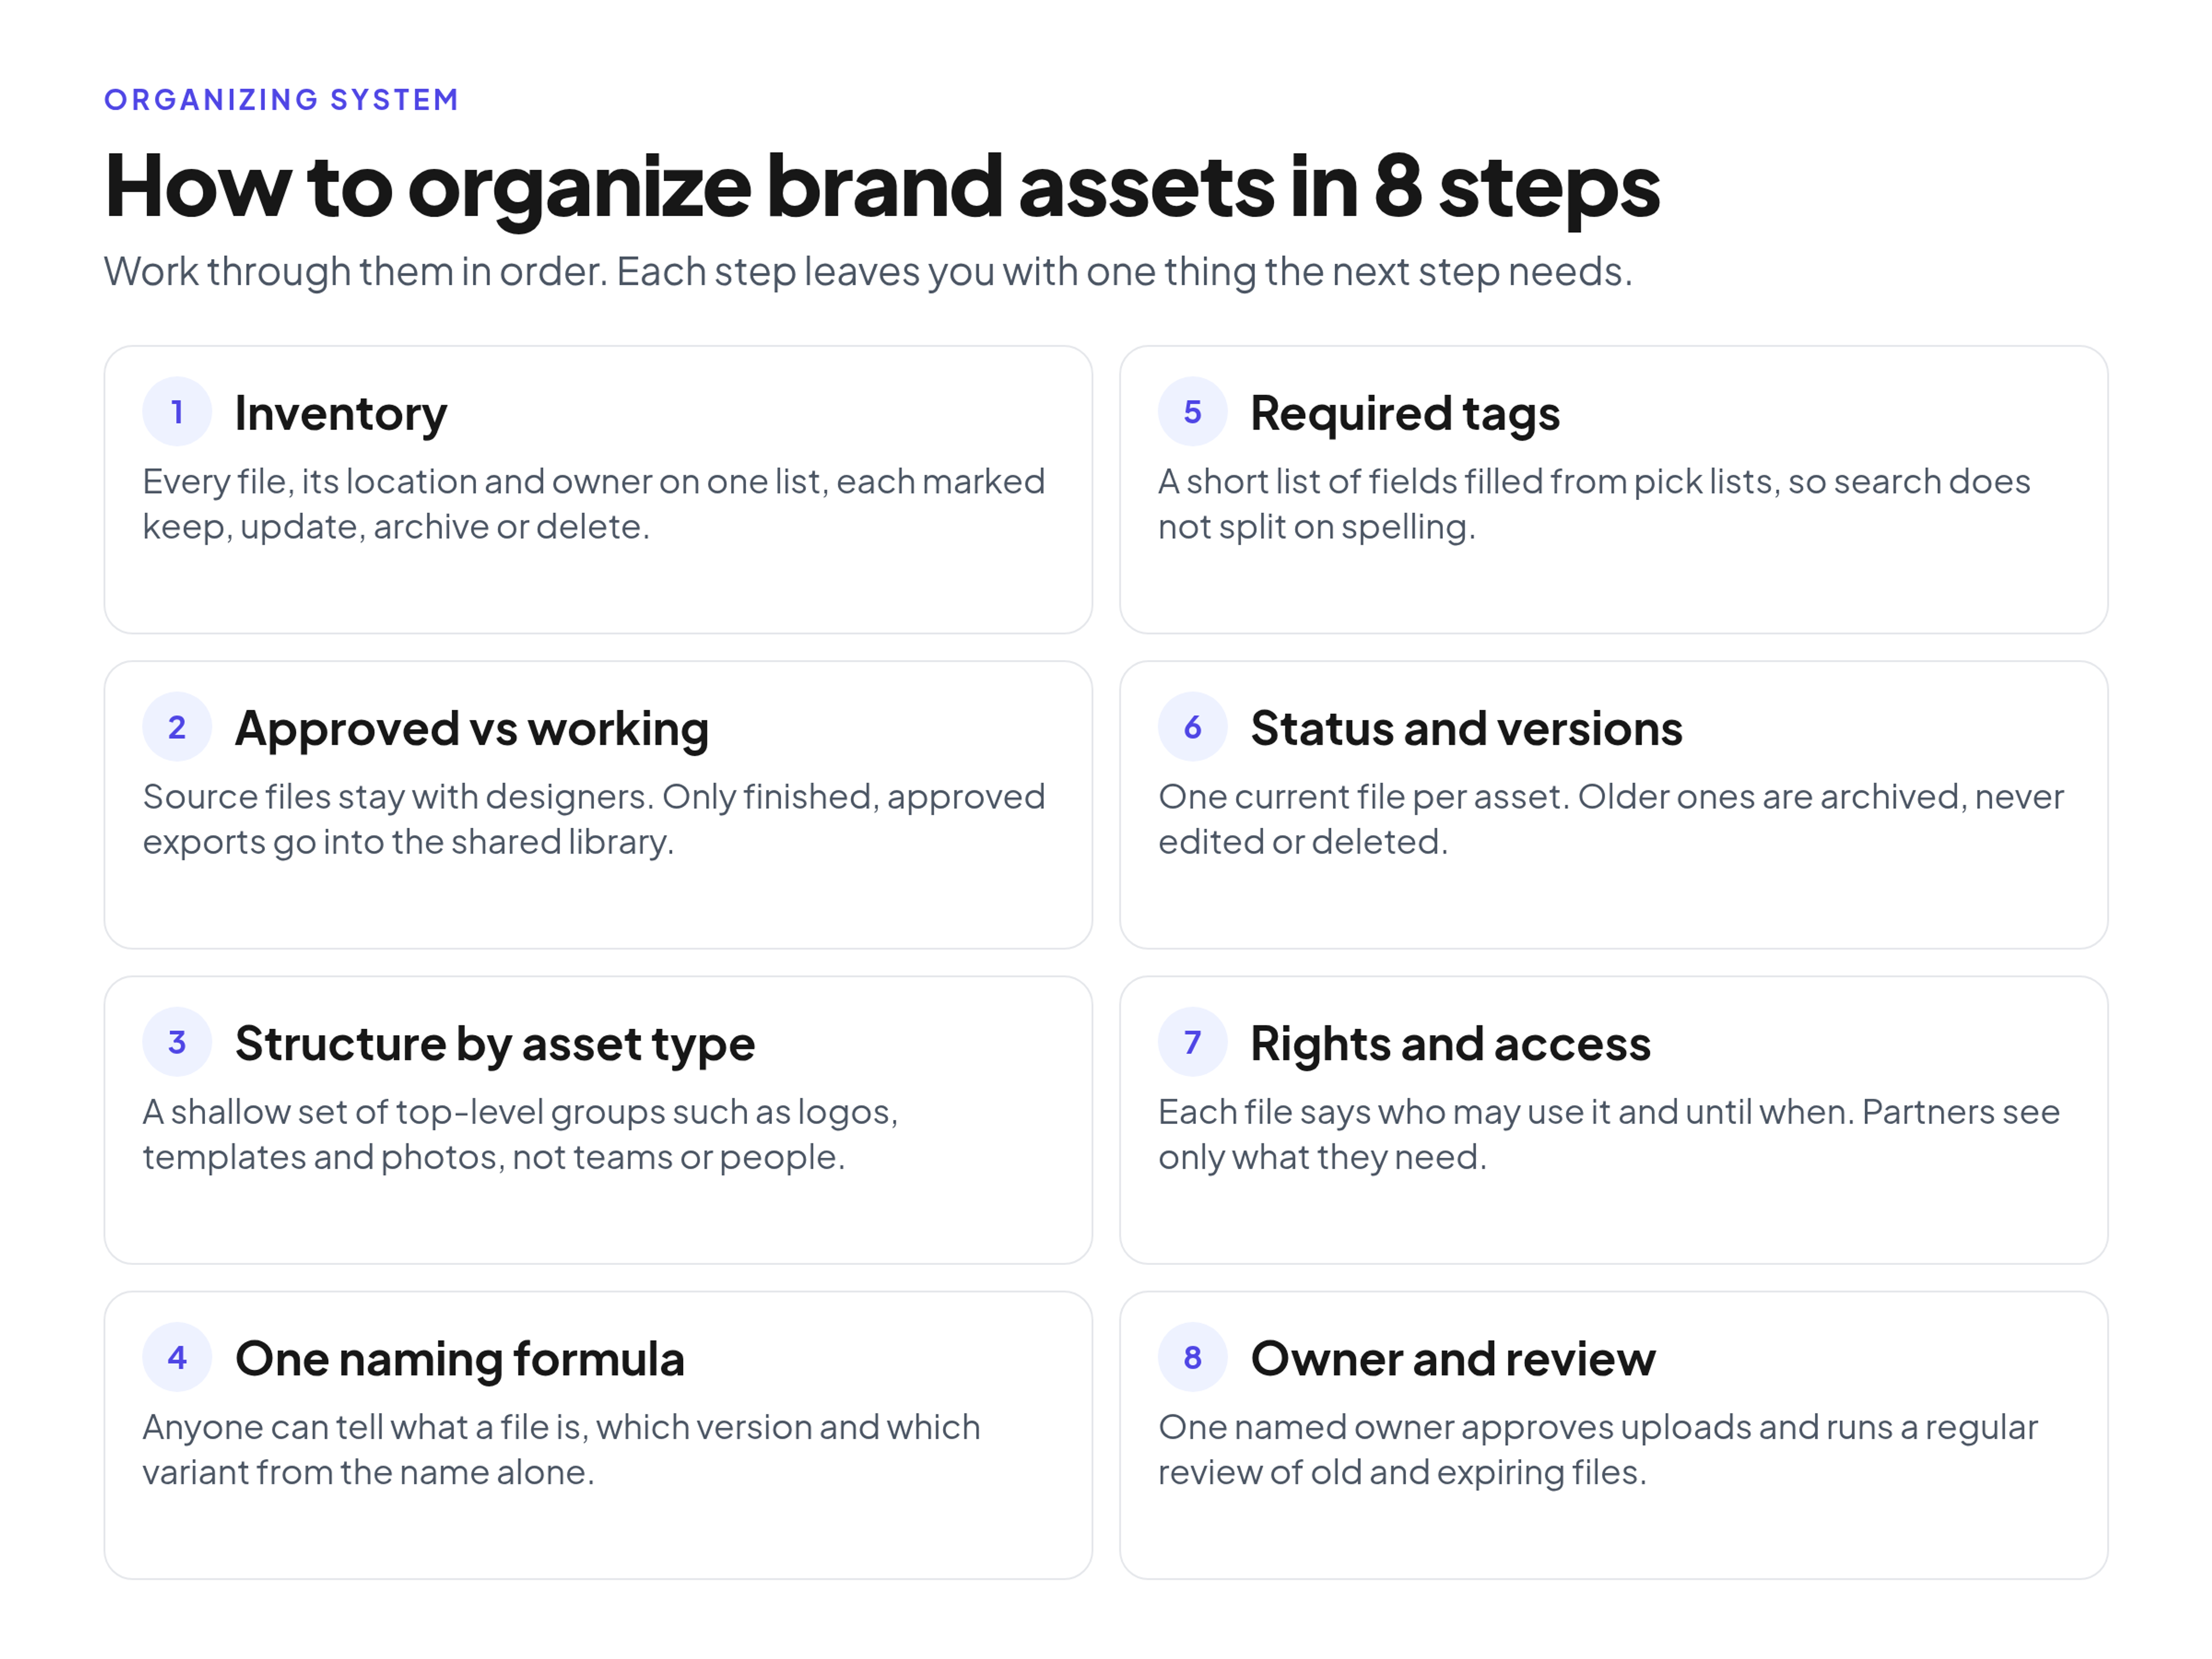
- Inventory what exists, where it lives and who owns it.
- Separate approved, ready-to-use files from working files.
- Choose a shallow structure by stable asset type.
- Apply one naming formula.
- Add a short set of required tags with a controlled vocabulary.
- Mark status and keep one current version of every asset.
- Record usage rights and access levels.
- Name an owner and set a review rhythm.
The goal is simple: a colleague, an outside designer or a partner can open the library, find the right logo, template or photo on their own and trust that it is the current, approved file. Whether that library ends up in a shared drive or in a dedicated brand asset portal, the rules below are the same. The order matters more than any single step, because each one depends on the one before it.
Step 1: Inventory What Exists, Where It Lives and Who Owns It
Start with a list, not with new folders. Brand files usually sit in more places than anyone expects: shared drives, personal cloud folders, design files, email attachments, chat threads and an old agency handoff folder nobody has opened since the rebrand.
Put every asset on one spreadsheet with four columns to begin with: the file, where it lives now, who made or owns it, and a decision. The decision has only four options:
- Keep: current and approved, ready to go into the new library.
- Update: still needed, but off-brand or out of date, so it gets fixed before it goes in.
- Archive: no longer for general use, but worth keeping for reference or records, such as past campaigns or the previous logo.
- Delete: duplicates, low-resolution screenshots, abandoned drafts and exports nobody can trace.
Check usage rights while you are here. Photos, illustrations, fonts, music and video often come with license terms, and a file you cannot legally reuse should not move into a library where everyone can download it. If nobody knows where a stock photo came from, mark it and leave it out until someone confirms the license.
What this step produces: one list that tells you exactly what will move into the new system and what will not. Resist the urge to migrate everything "just in case". A smaller library of trusted files beats a complete copy of the old mess.
Step 2: Separate Approved Files From Working Files
A shared brand library should hold files that are finished and safe to reuse. Working files belong somewhere else.
That means two boundaries. The first is between source files and exports: the layered design file, the editable logo source and the master video project stay with the designers, while the shared library gets the ready-to-use exports such as PNG, SVG, JPG and PDF. The second is between approved and in-progress: drafts, review rounds and options that were not chosen stay in the design tool or the project folder until they are signed off.
A simple test helps: if someone outside the creative team might reuse the file, publish the approved export to the library. If it is still changing, keep it where the work happens. This one rule keeps the library small enough to trust and stops non-designers from downloading a rejected concept or breaking a source file.
Step 3: Choose a Shallow Structure by Stable Asset Type
Organize the top level by what a file is, not by who made it. Groups such as logos, color and typography, templates, photography, video, product imagery and campaign materials stay meaningful when people leave or teams reorganize. Folders named after departments or people stop making sense the day the org chart changes.
Keep the structure shallow, so nobody has to click through five levels to reach a photo, and keep archived files in their own clearly marked place. We have already published a numbered, shallow folder tree for brand files that you can adapt, so this guide will not repeat it: see a brand asset folder structure with a sample tree to copy.
Step 4: Apply One Naming Formula
Folders tell people where a file lives, but a file name travels with the file when it is downloaded, attached or uploaded somewhere else. One formula, used by everyone, means a person can tell what the file is, which variant it is and which version it is without opening it.
In practice that means lowercase words, hyphens instead of spaces, a fixed order of parts and no words like "final" or "new". The full formula, with examples, is in our guide to a seven-part naming formula for logos, images and templates.
Step 5: Add Required Tags With a Controlled Vocabulary
Folders, names and tags each answer a different question. The folder answers "where does this live?", the file name answers "what exactly is this file?", and tags answer "when and how should I use it?". Tags are also what let one file show up in several searches without being copied into several folders.
The trap is free-text tagging. If one person types "social", another "social-media" and a third "instagram", search splits three ways and nobody finds everything. The fix is a controlled vocabulary: a fixed list of allowed values for each field that people pick from instead of typing. Information professionals have a formal standard for building these lists: the ANSI/NISO Z39.19 guidelines for controlled vocabularies explain how to choose terms, handle synonyms and keep the list up to date.
For most marketing and brand teams, a short set of required fields is enough:
- Asset type: logo, photo, illustration, icon, template, video, document.
- Brand or product: the master brand, each sub-brand or product line.
- Campaign: a campaign name, or "evergreen" for files that are not tied to one.
- Channel: web, social, email, print, presentation, events.
- Region or language: global, or the markets and languages you actually produce for.
- Status: current, archived or expired (drafts stay out of the library, per Step 2).
- Owner: the person who answers questions about the file and approves changes.
- Usage rights or expiry date: the license terms, restrictions and the date a license or release ends, if it does.
Make these fields required at upload and keep everything else optional. Every extra required field makes uploading slower, and people skip slow steps. Add a new field only when you notice people repeatedly searching for something the current fields cannot answer.
Step 6: Mark Status and Keep One Current Version
The most common question in any brand library is "which one is the real file?". Answer it with two rules.
First, only one current version of each asset is visible in the main library. When a logo, template or photo is updated, the new file becomes current and the old one is marked archived. Second, archive old versions instead of deleting them. You may need them to reproduce older materials, answer a legal question or roll back a change that did not work.
One more rule protects quality: never edit an export. If a social crop needs a change, go back to the source file, make the change there and export again. Editing a PNG directly creates a second version of the truth that no longer matches the source, and within a few months nobody can tell which one is right.
Step 7: Record Usage Rights and Access Levels
Rights and access are two sides of the same question: who may use this file, for what and until when?
For rights, record the terms on the file itself, not in a contract folder nobody opens. Note whether a photo was bought with a commercial license, whether a model or location release has an end date and whether a font license limits where it can be embedded. If you use openly licensed images, record which license applies, because the conditions differ: the Creative Commons license types range from licenses that allow commercial use with attribution to ones that allow noncommercial use only. Put the expiry date in the usage rights field from Step 5 so the review in Step 8 can catch it.
For access, three levels cover most teams:
- Brand and creative team: can upload, edit details, archive and approve.
- Everyone else inside the company: can view and download current, approved files.
- Outside partners and freelancers: see only the collections they need for their work, and lose access when the project or contract ends.
Write down who grants outside access and who removes it. Access that is never removed is one of the quieter ways old files keep circulating.
Step 8: Name an Owner and a Review Rhythm
A library without an owner drifts back into a mess. Name one person, usually a brand manager or someone in marketing operations, who approves new uploads, keeps the tag lists tidy and answers "where is..." questions.
Give contributors a short upload check: is it the approved export, is it in the right place, does the name follow the formula, are the required tags filled in? Then put a regular review on the calendar, for example once a quarter, to archive finished campaigns, catch licenses that are about to expire, replace outdated files and remove access for people who have left.
Share Links to the Current File, Not Copies
Organizing the library only helps if people use it. The moment a logo goes out as an email attachment, a copy starts living on someone's desktop, and it will still be there after the next brand update.
Share a link to the current file or to a collection instead. When the file is updated in the library, the link points people to the new version and the old copy is not passed along again. This works in a shared drive as long as people link rather than download and re-upload, and it is the default way of working in a brand portal.
A Worked Example: One Product Launch Asset Set, Organized End to End
To see the whole system on real files, here is a small launch set for a fictional product called "Atlas" from a fictional company. It has six files: a hero photo, three social crops made from it, a slide template and the logo used on all of them. The example values are illustrative, not from a real company.
Hero photo
- Lives in: photography, product shots.
- File name: acme-atlas-photo-hero-studio-v01.jpg
- Tags: asset type photo; brand Atlas; campaign Atlas launch; channel web, email; region global.
- Status: current.
- Rights note: commissioned shoot with a commercial license for all channels; model release ends on the date written in the contract, entered in the expiry field.
- Owner: brand manager.
Social crops (square, vertical, landscape)
- Live in: campaign materials, Atlas launch.
- File names: acme-atlas-social-hero-1x1-v01.png, acme-atlas-social-hero-9x16-v01.png, acme-atlas-social-hero-16x9-v01.png
- Tags: asset type photo; brand Atlas; campaign Atlas launch; channel social; region global.
- Status: current.
- Rights note: derived from the hero photo, so the same license and the same expiry date apply.
- Owner: social media lead, who requests new crops from the designer instead of editing these files.
Slide template
- Lives in: templates, presentations.
- File name: acme-atlas-template-slides-launch-v02.pptx
- Tags: asset type template; brand Atlas; campaign Atlas launch; channel presentation; region global.
- Status: current (v01 archived after the product name on the cover slide changed).
- Rights note: internal company asset; uses the brand typeface under the company font license.
- Owner: product marketing manager.
Logo lockup
- Lives in: logos, primary.
- File name: acme-logo-primary-fullcolor-rgb-v03.svg
- Tags: asset type logo; brand master brand; campaign evergreen; channel all; region global.
- Status: current (v01 and v02 archived after the last brand refresh).
- Rights note: company trademark; use follows the logo rules in the brand guidelines.
- Owner: brand manager.
Notice what the example shows. The crops and the template sit in different places but are pulled together by the campaign tag, so a partner can be given one Atlas launch collection instead of four folders. The crops inherit the hero photo's rights and expiry, so one review catches all of them. And every file has one owner who can be asked about it.
Common Mistakes When Organizing Brand Assets
- Moving the whole old drive in. Without the inventory in Step 1, the new library inherits the old clutter and loses trust in the first week.
- Organizing by team or by person. It reads well until someone leaves or teams merge.
- Folders for every campaign at the top level. They pile up fast; use a campaign tag and keep the top level stable.
- Free-text tags. Spelling variations split search. Use pick lists.
- Too many required fields. People stop tagging, or tag badly to get through the form.
- Keeping drafts next to approved files. Sooner or later someone uses the rejected version.
- No owner and no review. Expired licenses, finished campaigns and old logos stay visible.
Where a Brand Portal Fits
You can run this whole system in a well-kept shared drive, as long as someone enforces the rules. A brand portal makes some of the rules easier to keep because the structure is built in. In Brandportal, for example, you can organize files in folders, add metadata and tags, keep version history, give people Admin, Editor or Viewer roles, share links instead of attachments and publish a portal publicly or behind a password, with unlimited free viewers. If you want to try it on your own files, you can start a free trial on one of the plans. If you decide to set one up, our guide to the eight steps to set up a brand portal picks up where this article ends.
FAQ
How do you organize brand assets for several brands or products?
Keep one structure for the whole company and make brand or product a required tag. Shared assets such as the master logo and core templates live once and are tagged for the master brand; product-specific files are tagged for their product. Avoid building a separate copy of the folder tree for each product, because shared files then get duplicated and drift apart.
Should you organize brand assets by campaign?
Not at the top level. Campaigns end and overlap, so campaign folders multiply quickly. Keep the top level by asset type, tag files with the campaign, and group them into a campaign collection while it is running. Once the campaign is over, archive what will not be reused.
How many tags is too many?
Required fields should cover only what people actually search by. The eight fields above work for most marketing and brand teams; if uploads start arriving with tags missing or filled in at random, cut the required list rather than adding more. Optional keywords can be added freely as long as the required fields use pick lists.
How do you stop people from using old logos?
Archive old versions so they no longer appear in normal search, keep exactly one current logo set, and share links to that set instead of sending files. Then go after the copies that already exist: update templates that embed the old logo and ask partners to replace their local files after each brand update.
Who should own the brand asset library?
One person, usually the brand manager or someone in marketing operations. Designers keep the source files, but one owner decides what is published, archived or removed, so there is never a question about who has the final say.
Conclusion
Organizing brand assets is less about the tool and more about a few rules everyone follows: decide what deserves to exist, publish only approved exports, keep the structure shallow, name files one way, tag them from fixed lists, keep one current version, record rights and access, and give the library an owner. Start with the inventory this week. Everything else gets easier once you know what you actually have.